
Create a Card
Go through the card builder step by step, then put your card live on Google Wallet.
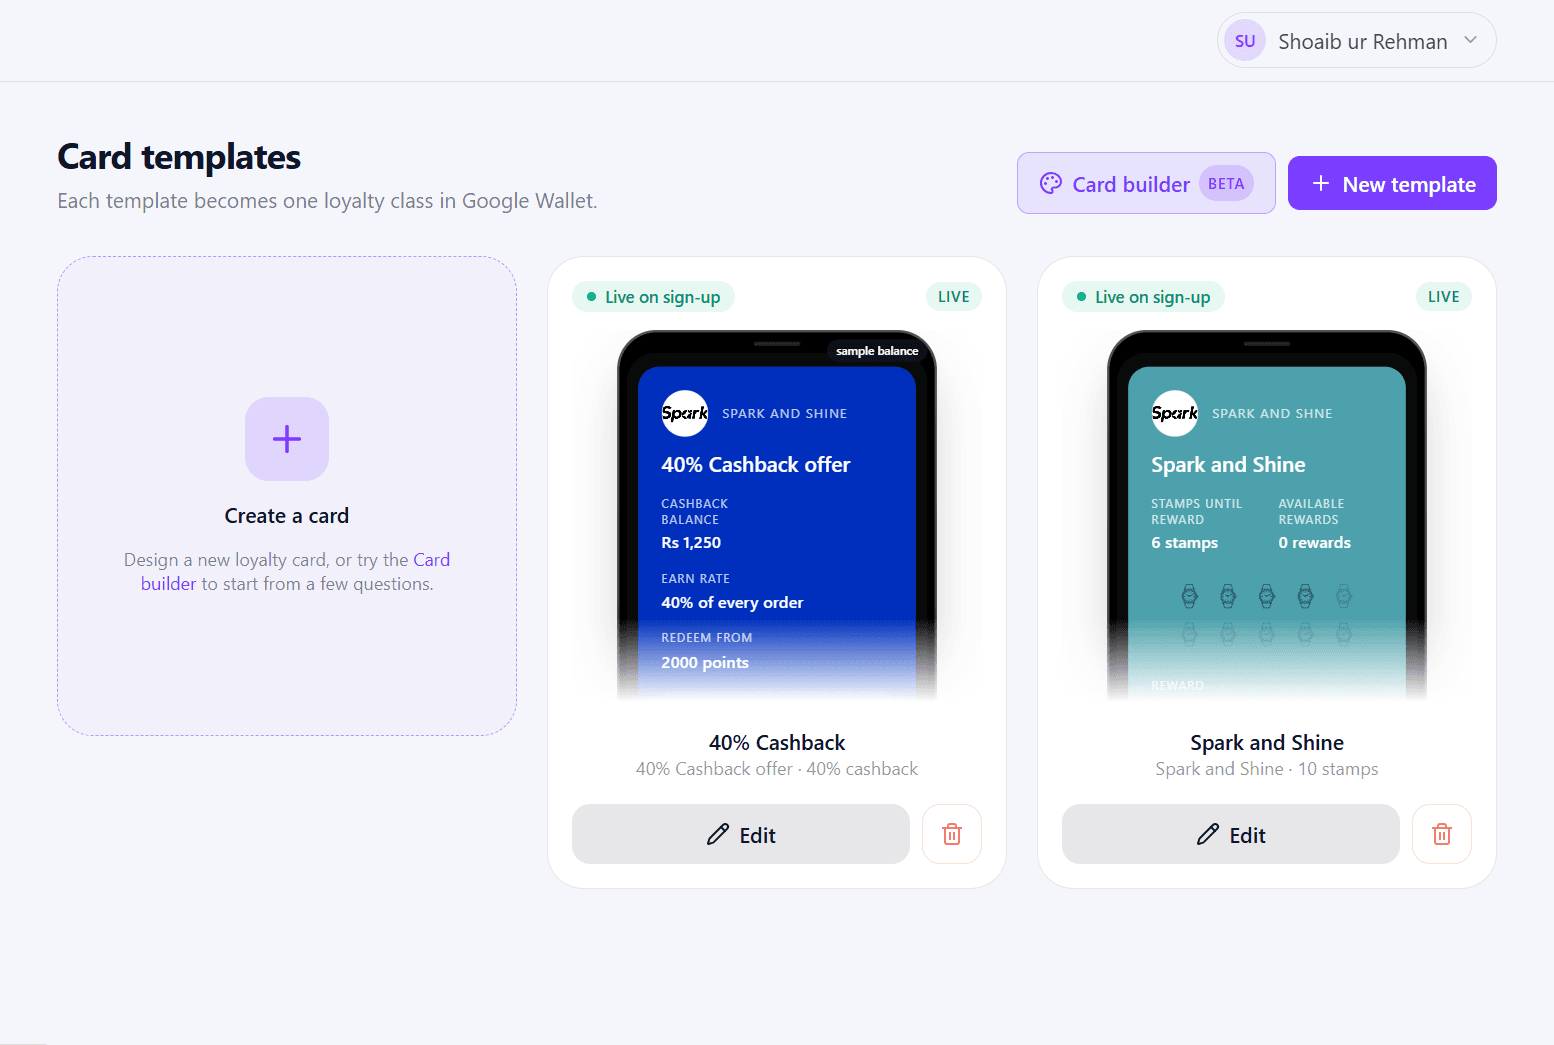
The 7 steps of New card template, in order.
Save, activate and sync - then your card is ready.
Before you start
In the dashboard, your card is called a card template. Once you finish the steps and put it live, your card is ready for customers.
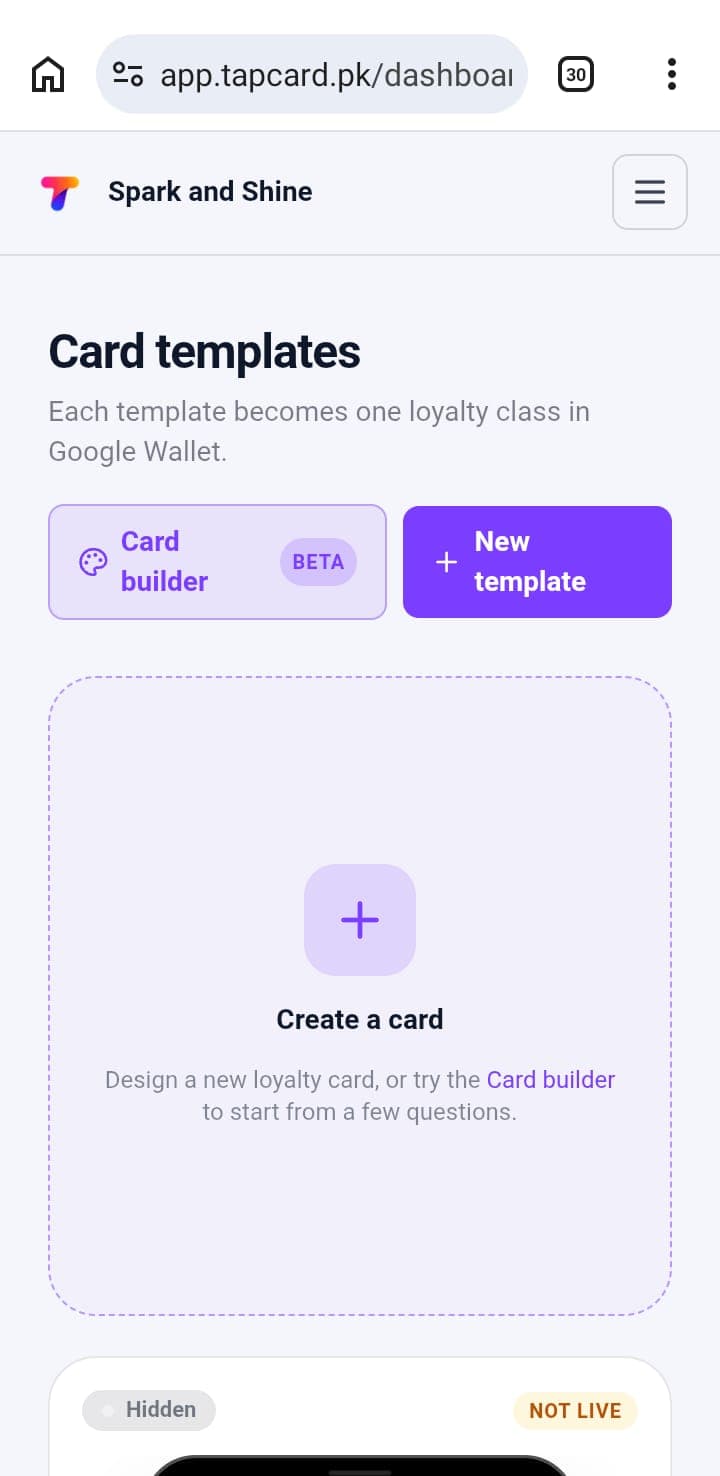
Add a branch and have your logo ready. Then open Card templates and click New template. The Live preview shows your card as you go.
1Card type
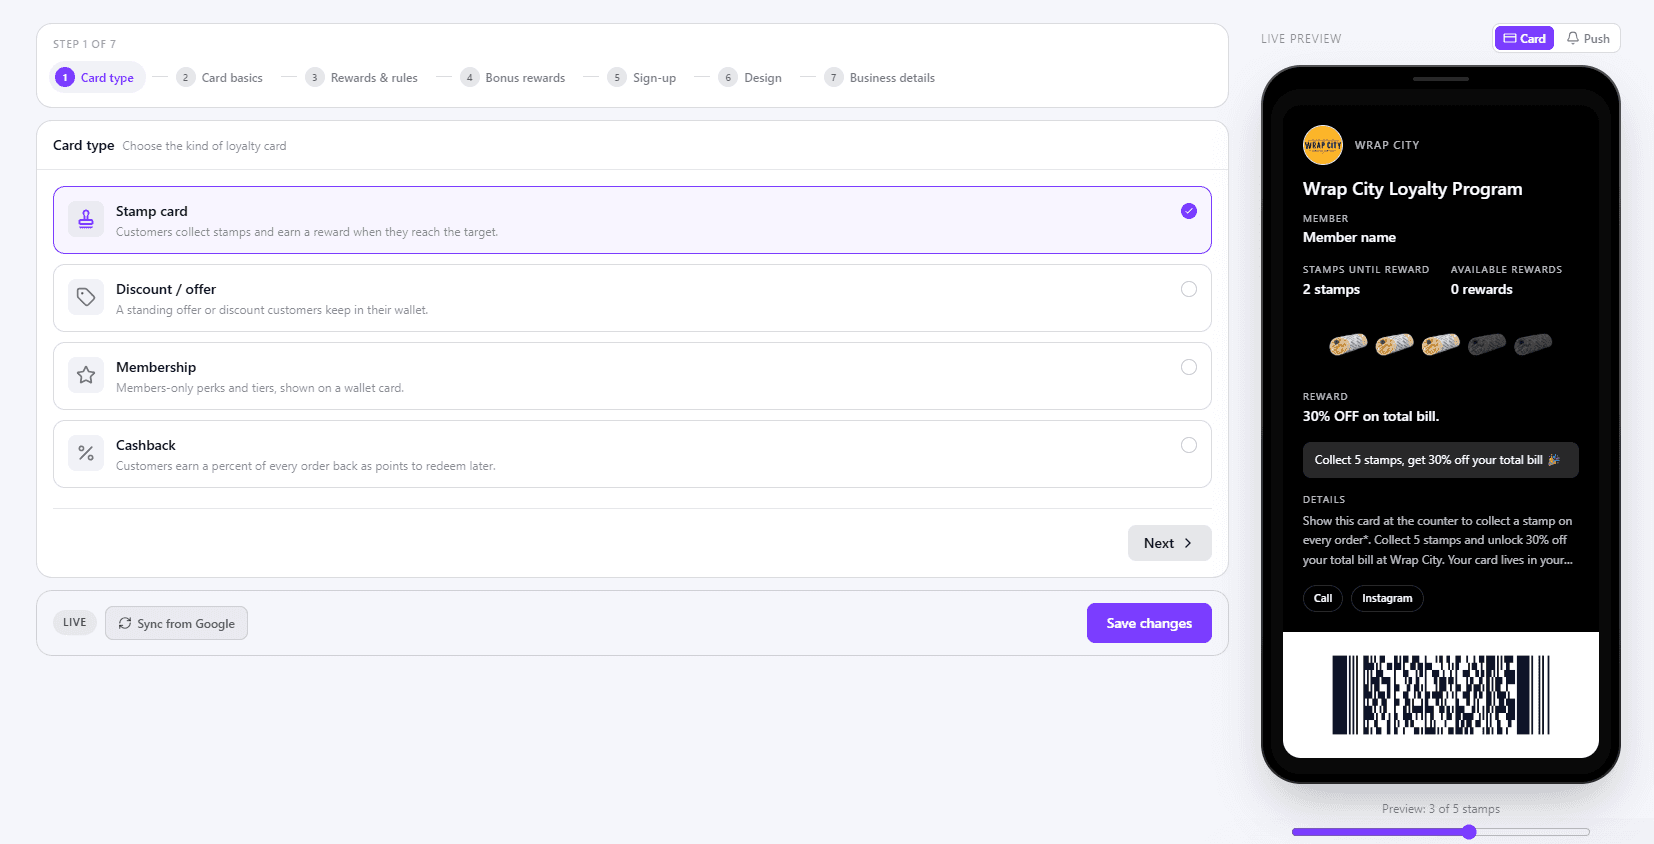
Pick Stamp card, Discount / offer, Membership, Subscription or Cashback. Not sure? Start with a Stamp card.
2Card basics
Name your card. Customers see the Program Name and Business Name - the Template Name is just for you.
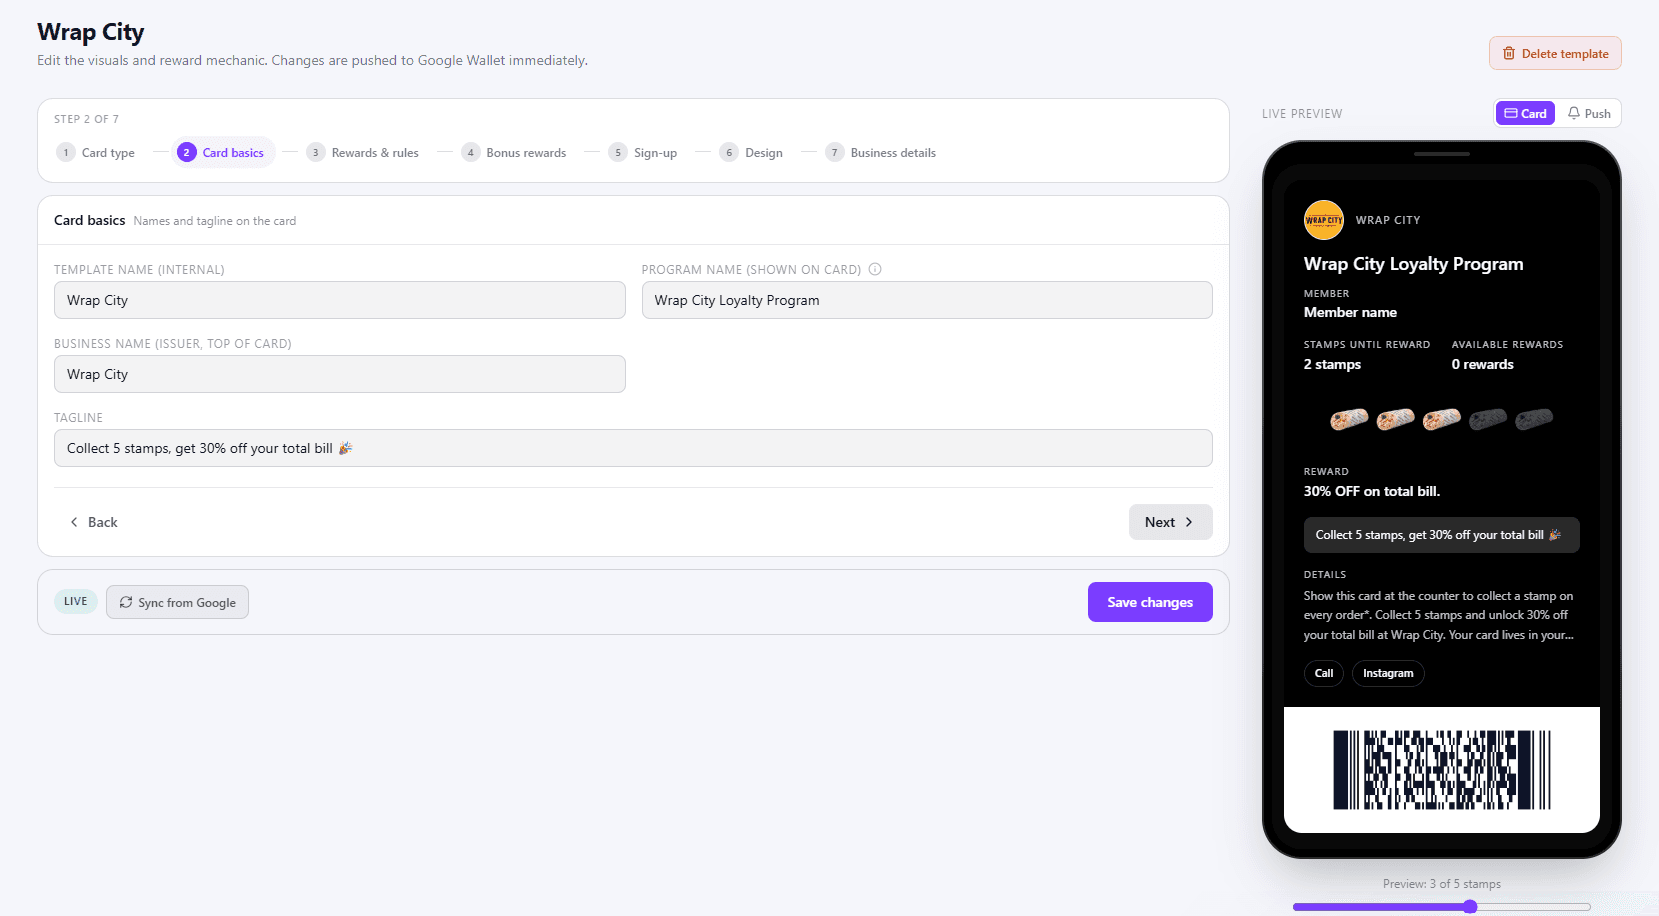
Double-check your Program Name. It's hard to change once Google approves it.
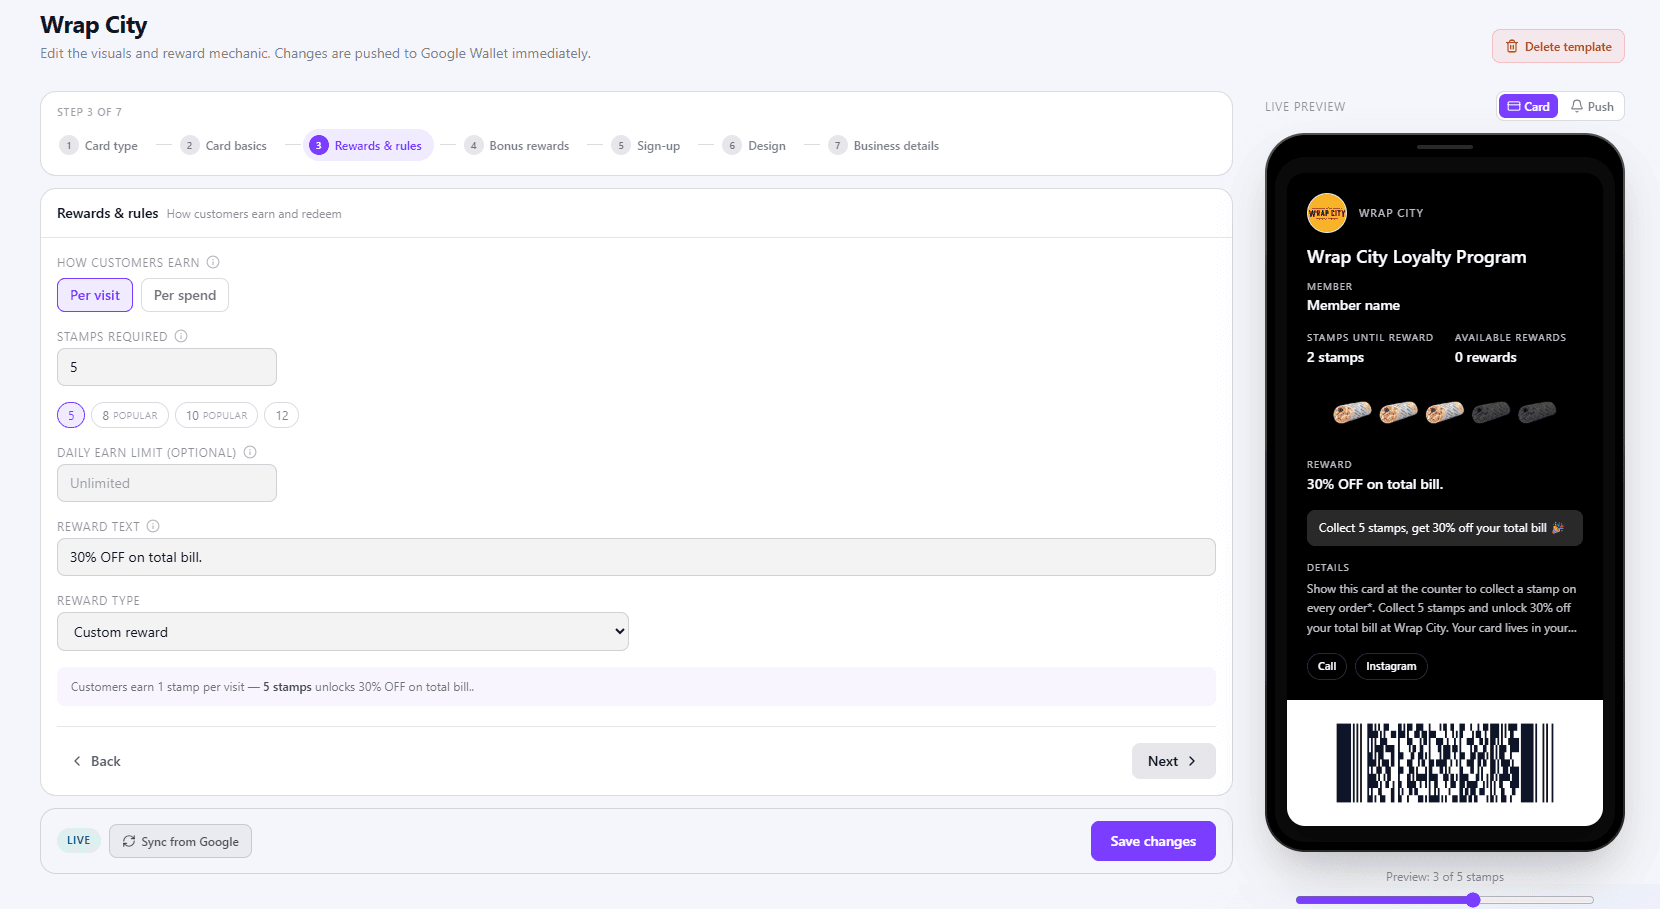
3Rewards & rules
Choose how customers earn (Per visit or Per spend), how many Stamps required, and the reward, e.g. "Free coffee". Read the summary at the bottom to check it sounds right.
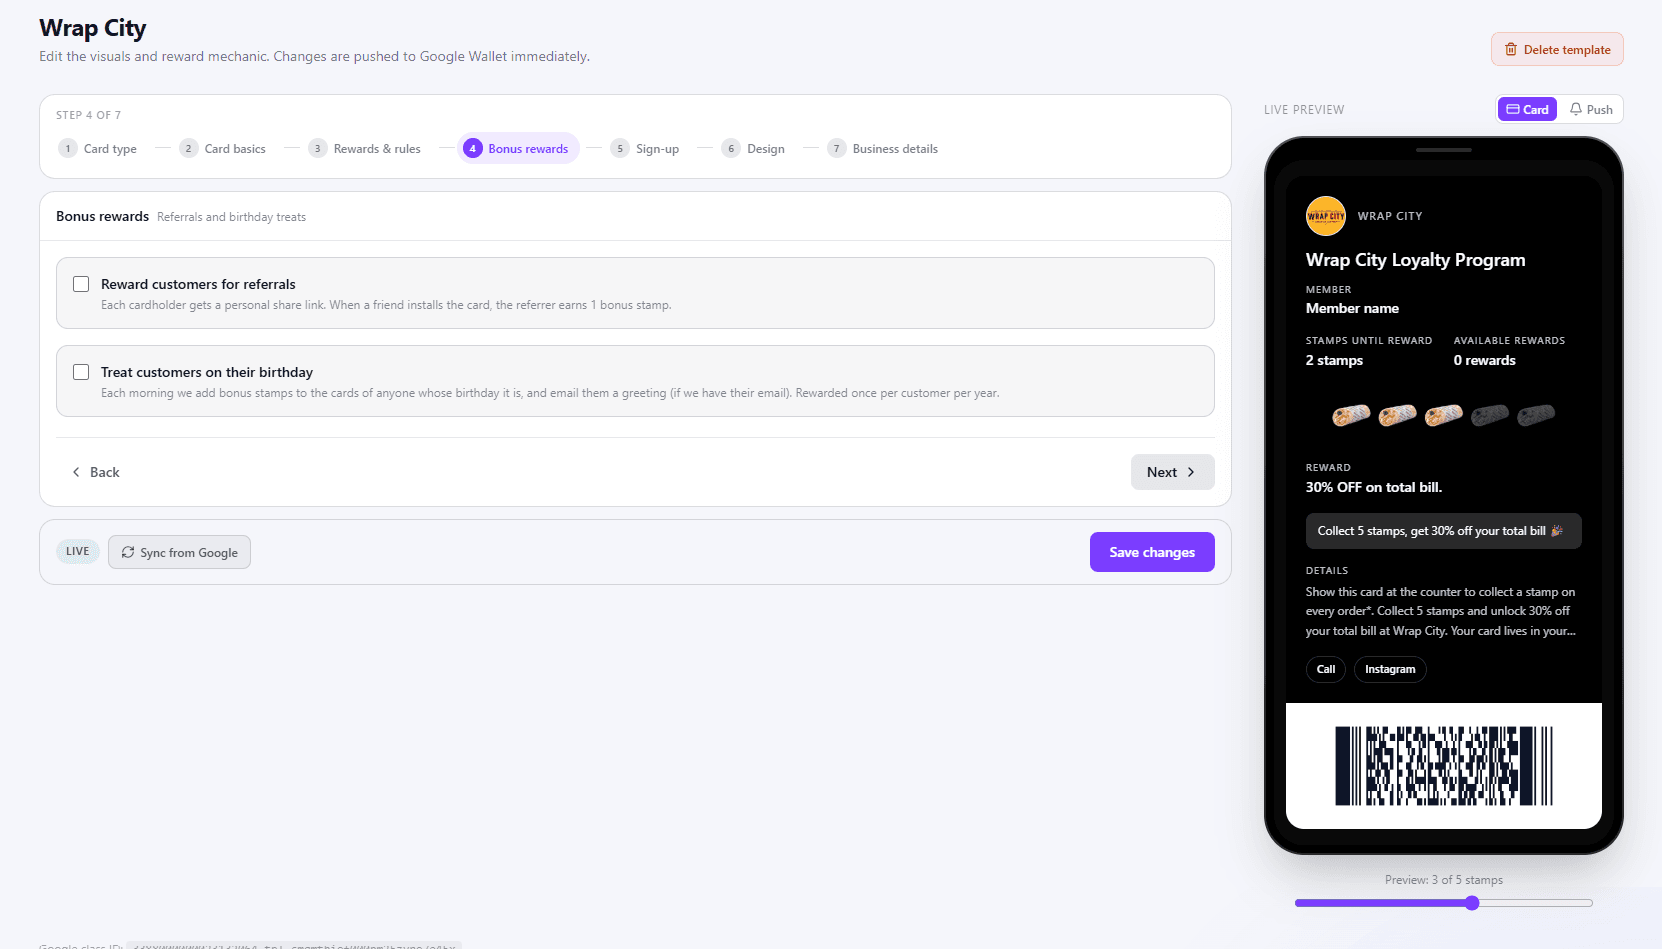
4Bonus rewards
Optional. Tick Reward customers for referrals (1 bonus stamp when a friend joins) or Treat customers on their birthday (bonus stamps, added automatically).
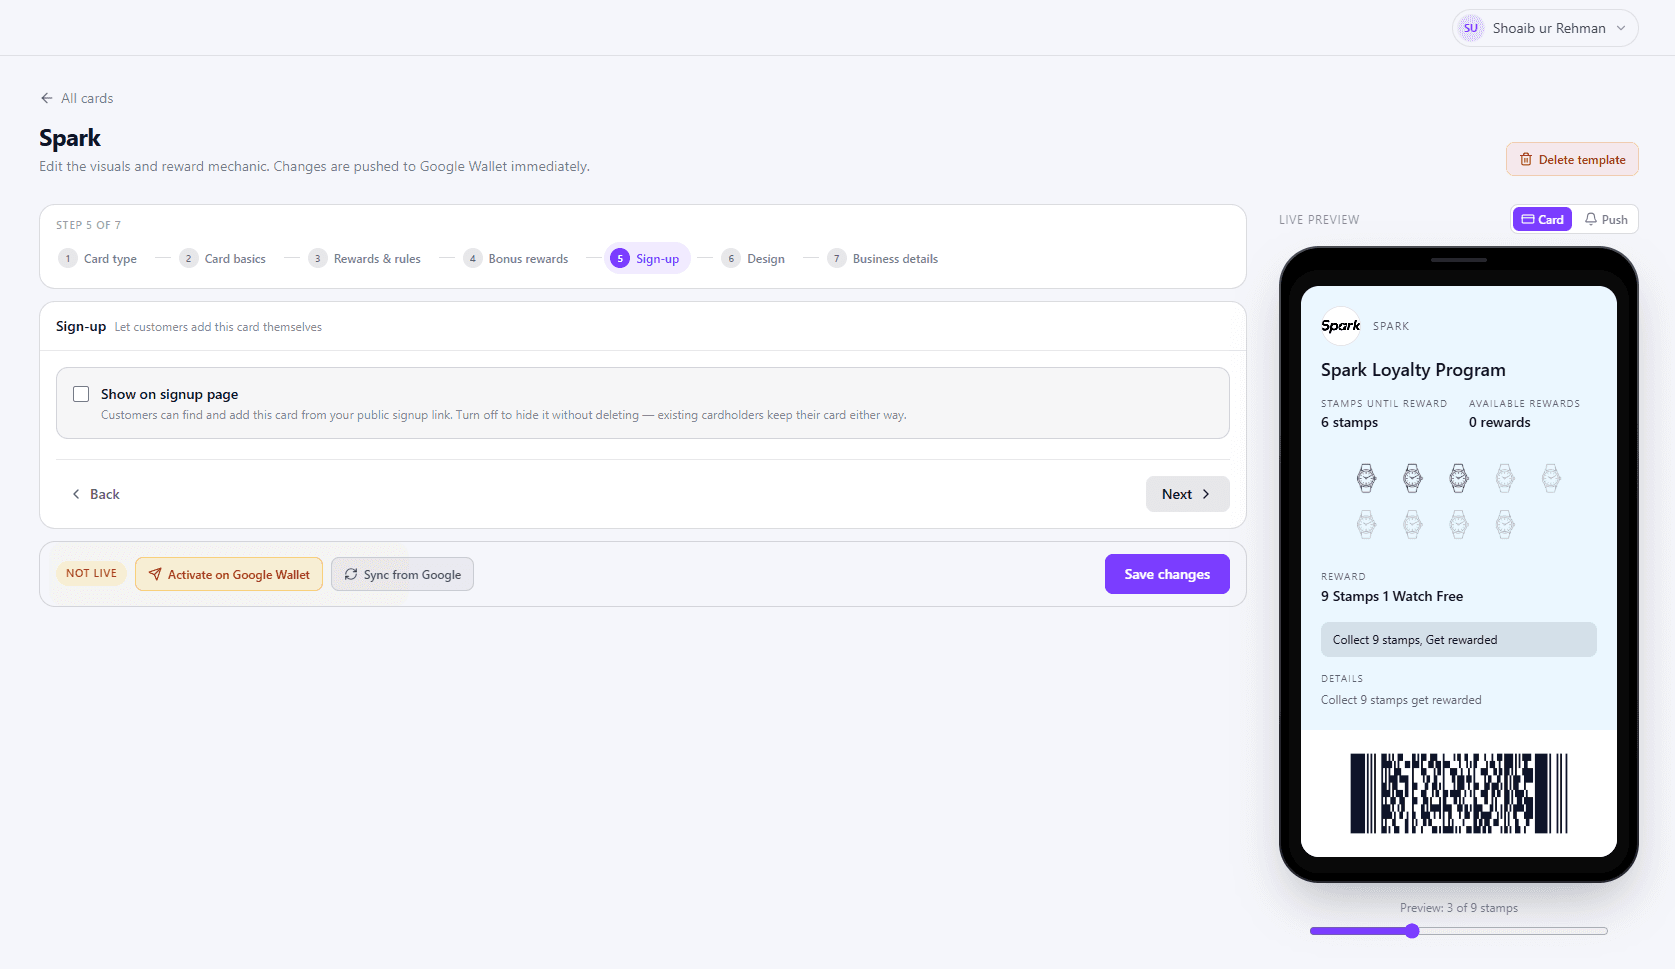
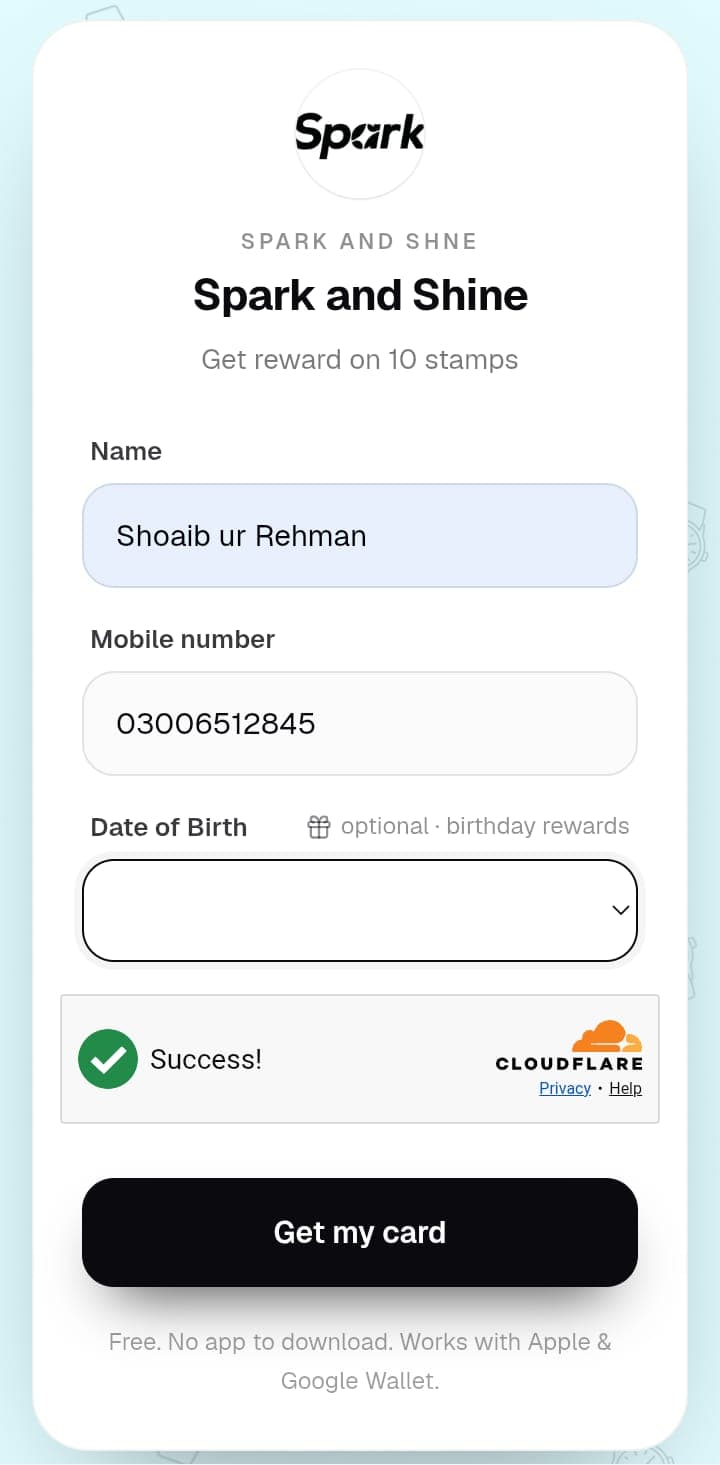
5Sign-up
Keep Show on signup page ticked so customers can join with this card.
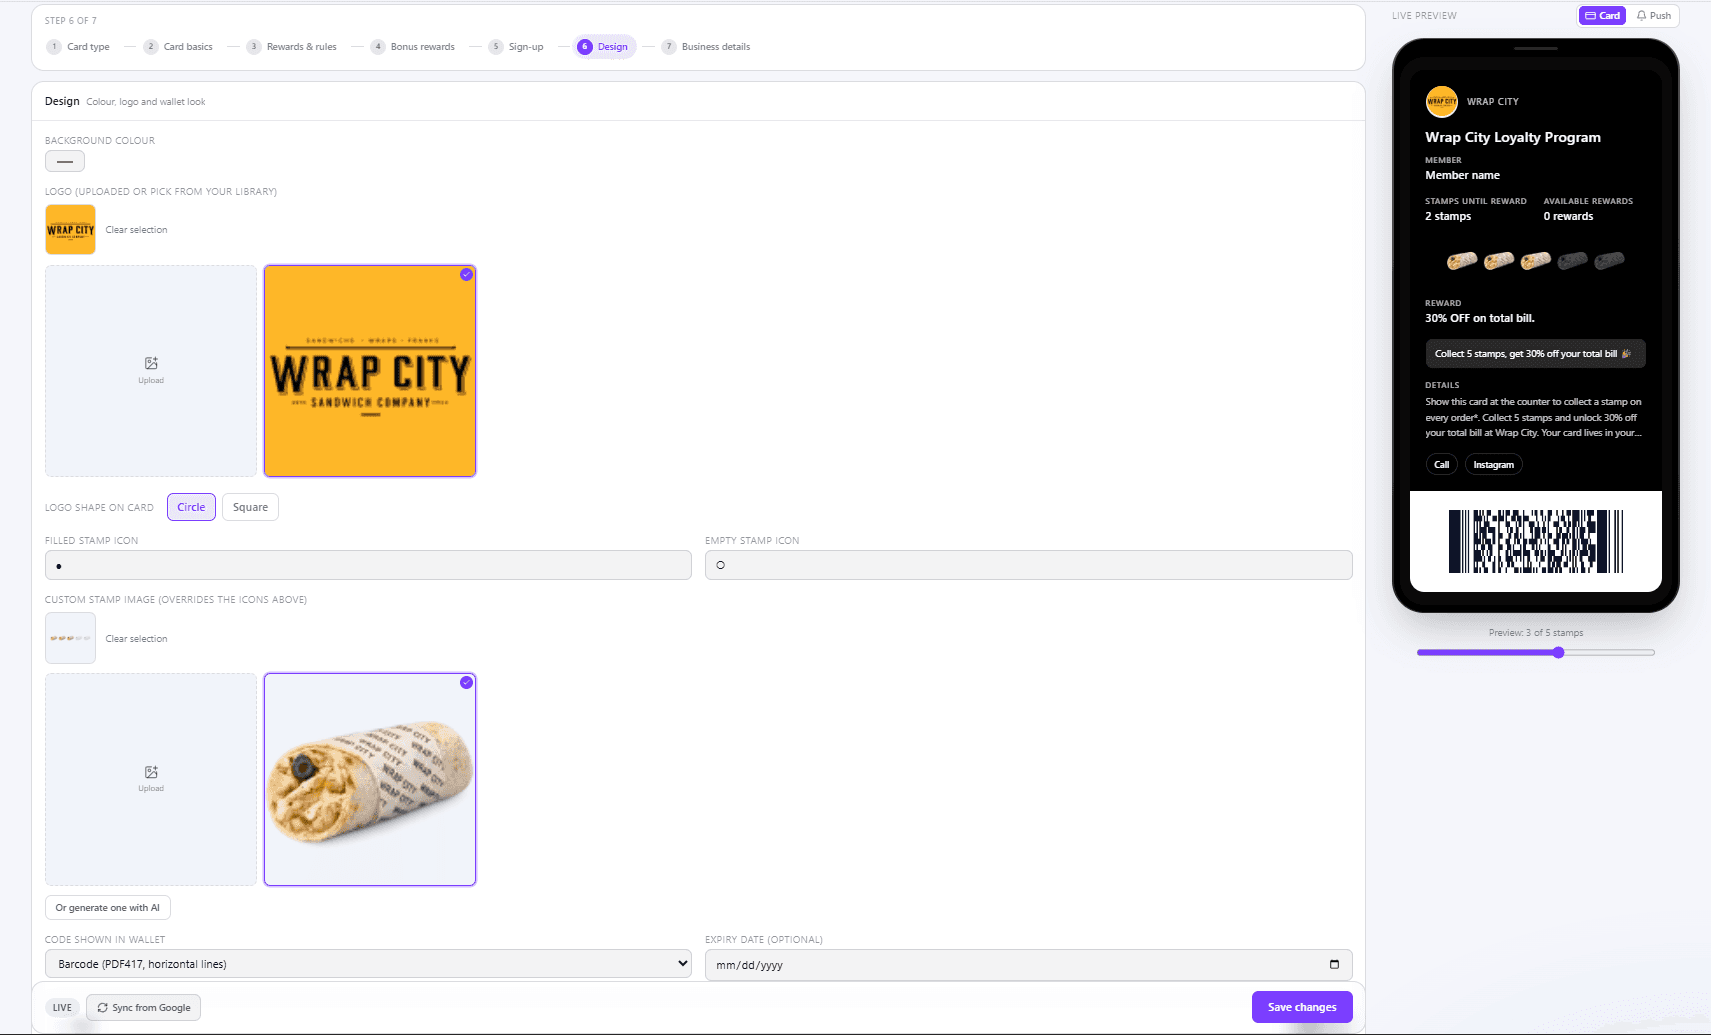
6Design
Pick your Background Colour, Logo and stamp icons - or upload or AI-generate your own stamp. Then choose the code staff scan: QR code or Barcode.
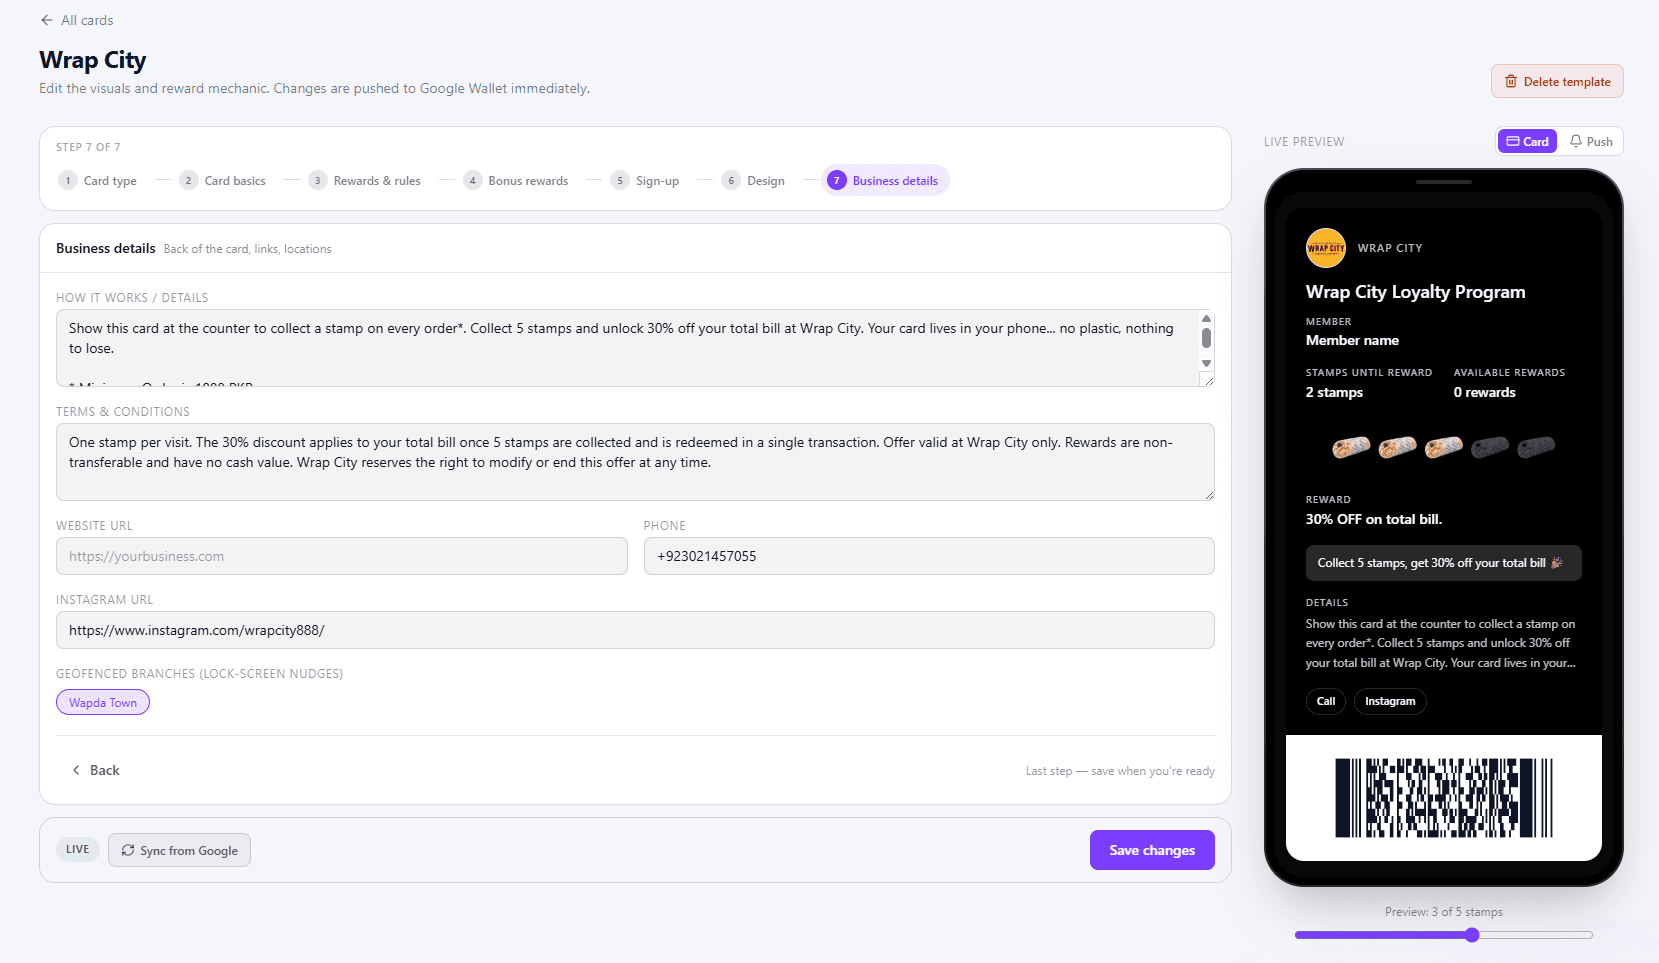
7Business details
Add what goes on the back of the card - details, terms and links - and choose your Geofenced Branches. Then click Create template.
8Put it live on Google Wallet
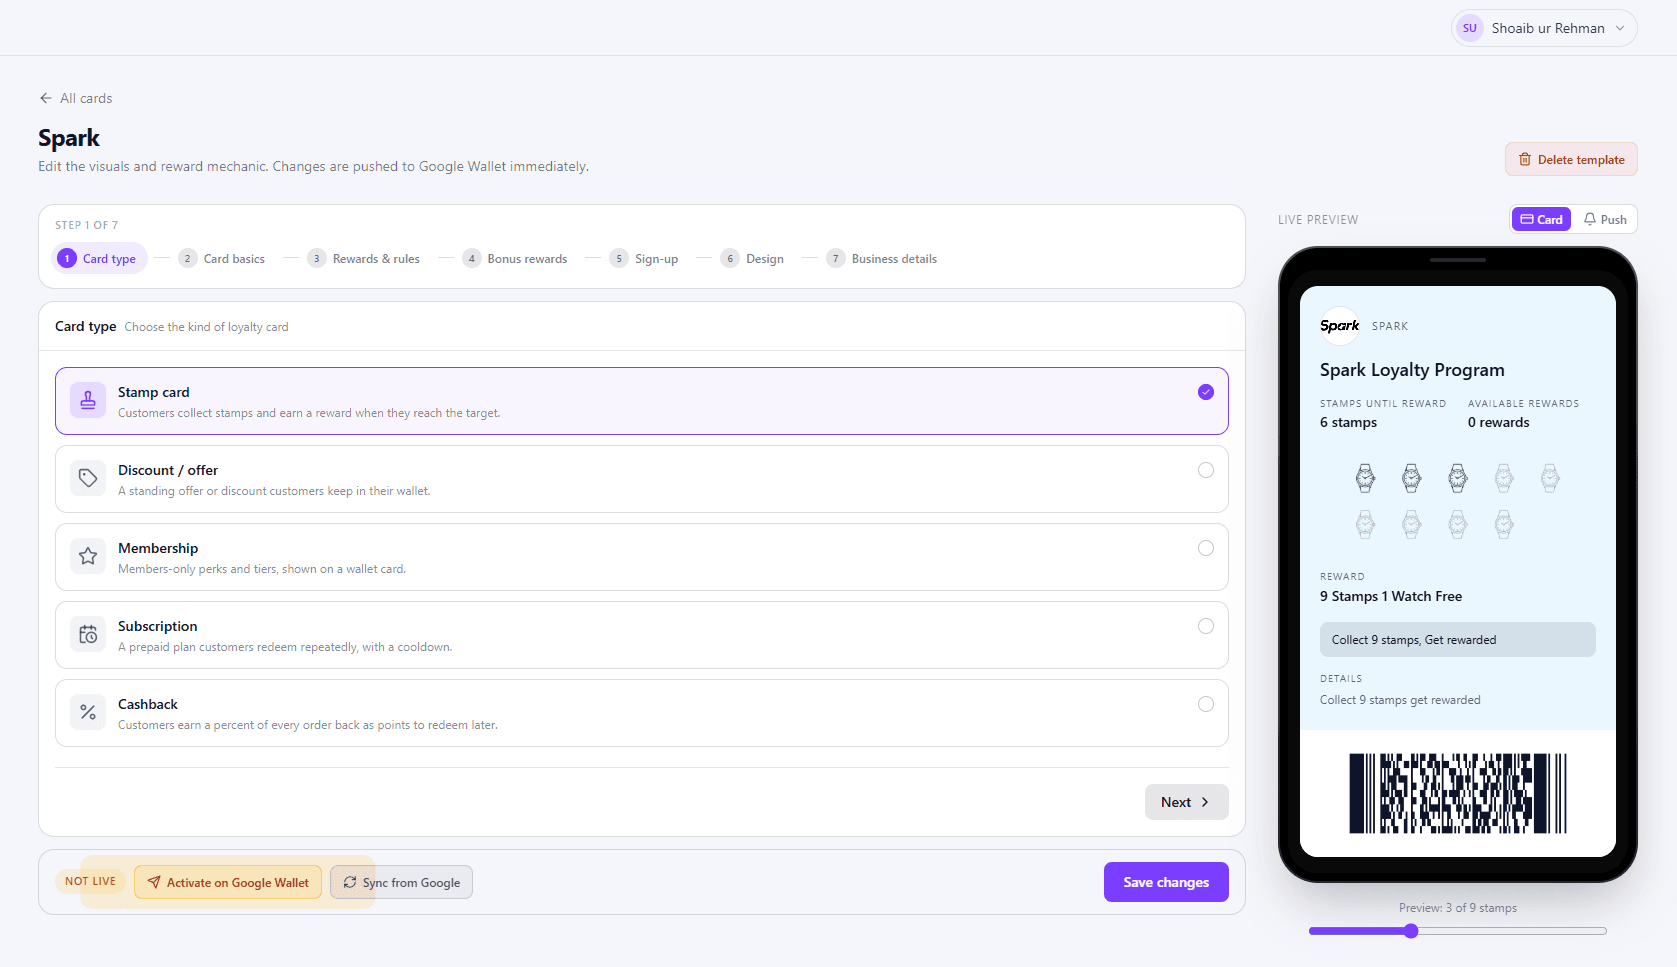
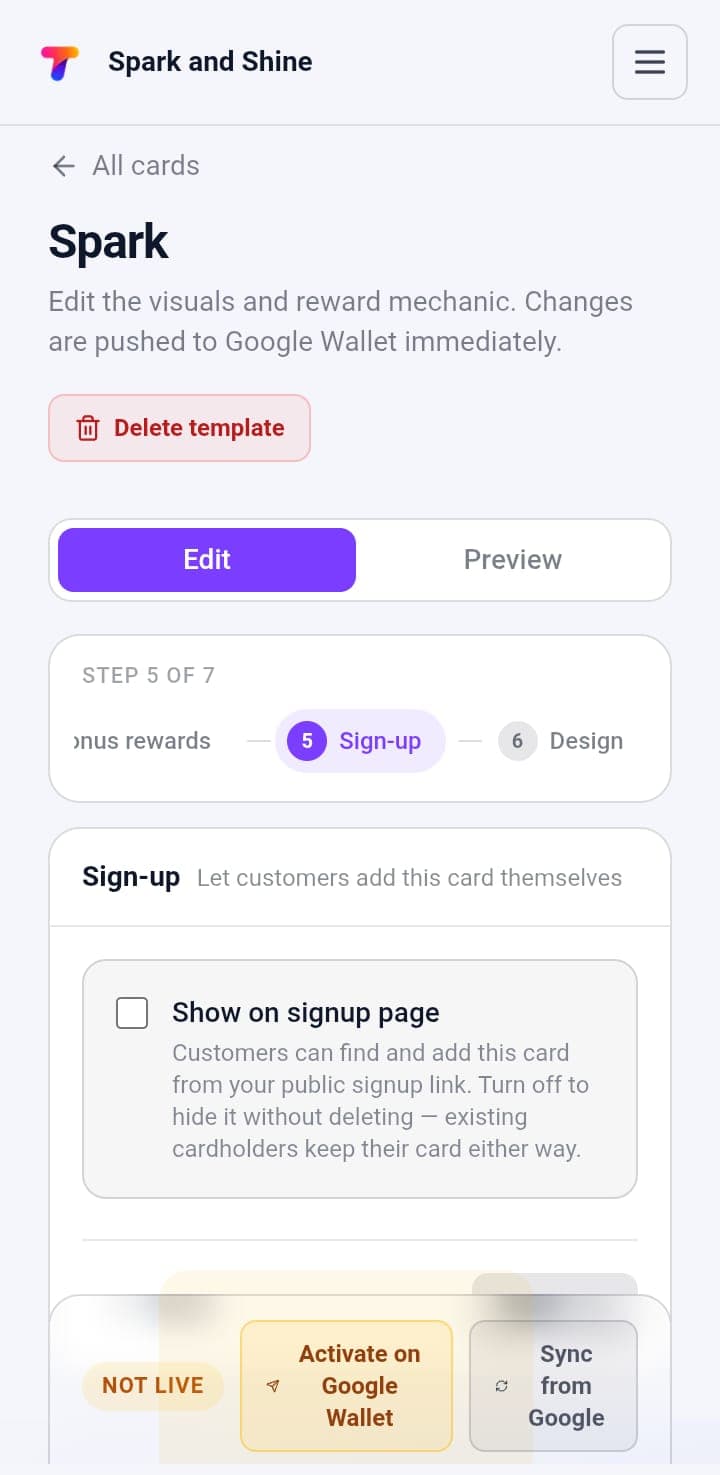
After Create template, your card shows a Not live badge. Finish it off:
- Click Save changes
- Click Activate on Google Wallet
- Click Sync from Google
The badge changes from Not live to Live. Your card is ready.
What's next?
Change, check or delete your cards later: Manage Your Cards.