
Set Up Staff & Scanner
Add your staff, choose what they can do, and connect the device they scan with.
One account for each person who scans.
Set up the device, then staff sign in.
1Add a staff member
Give each employee their own account - don't share one between staff.
- Go to Staff
In the dashboard menu (☰ on a phone).
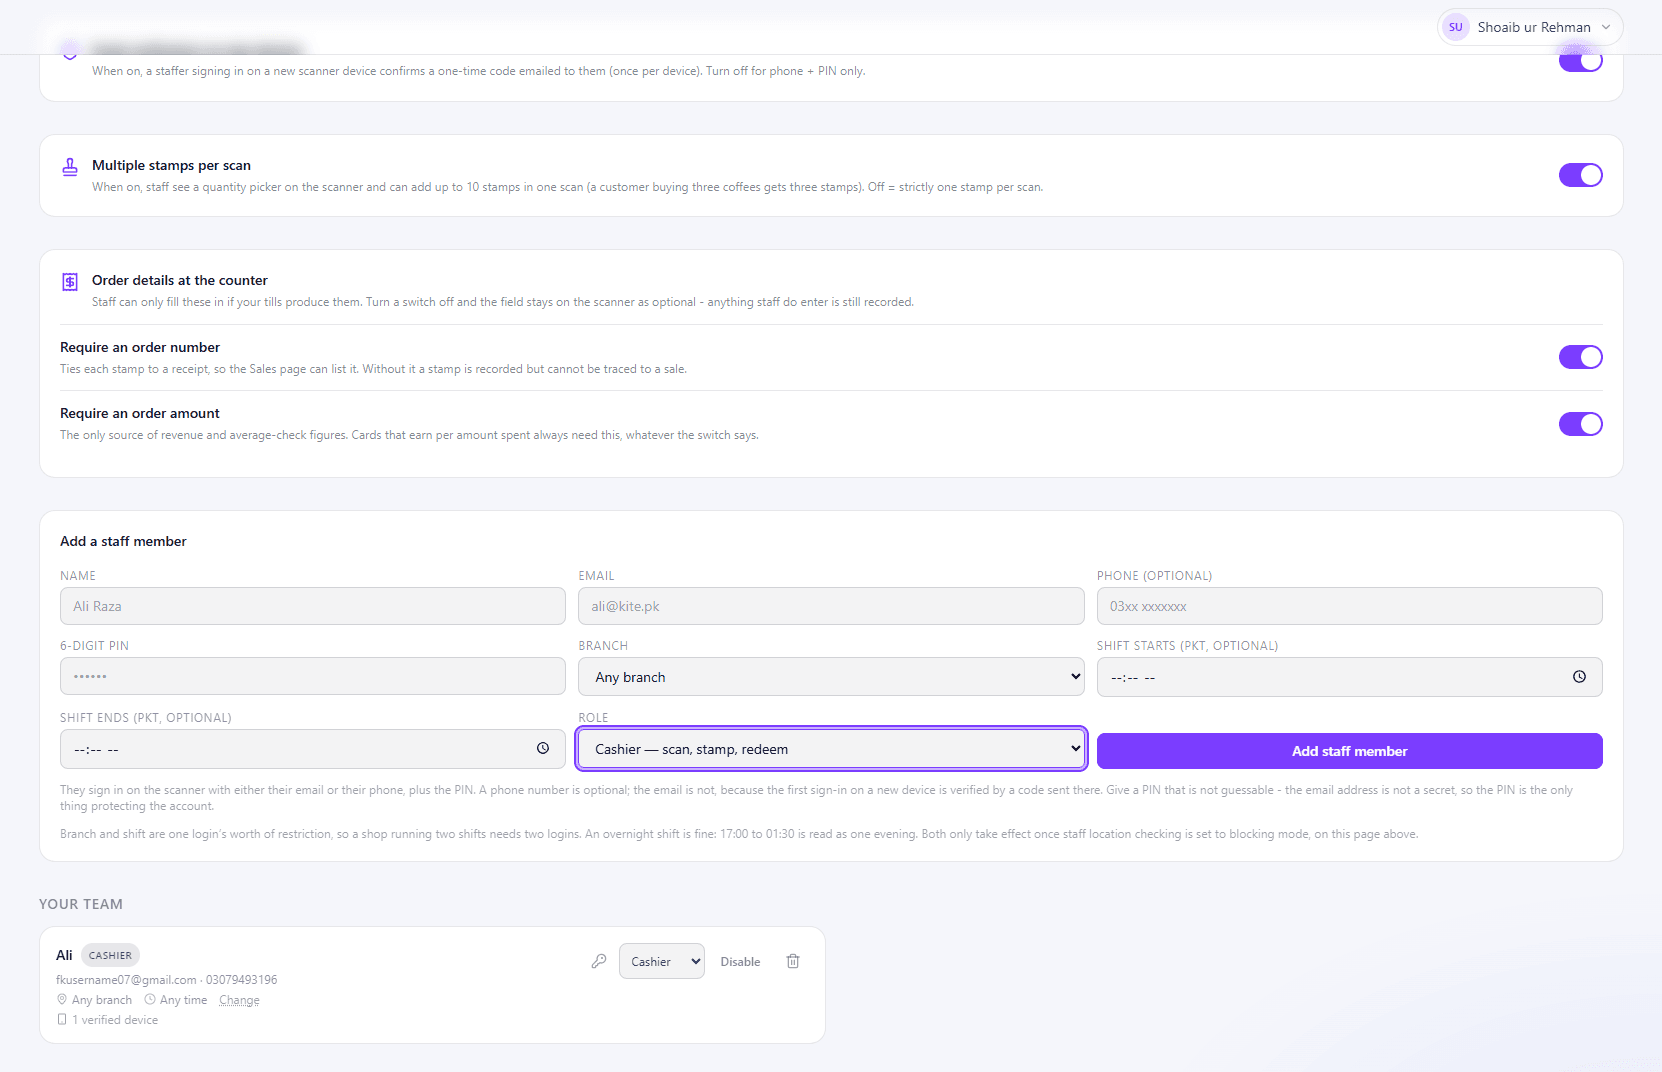
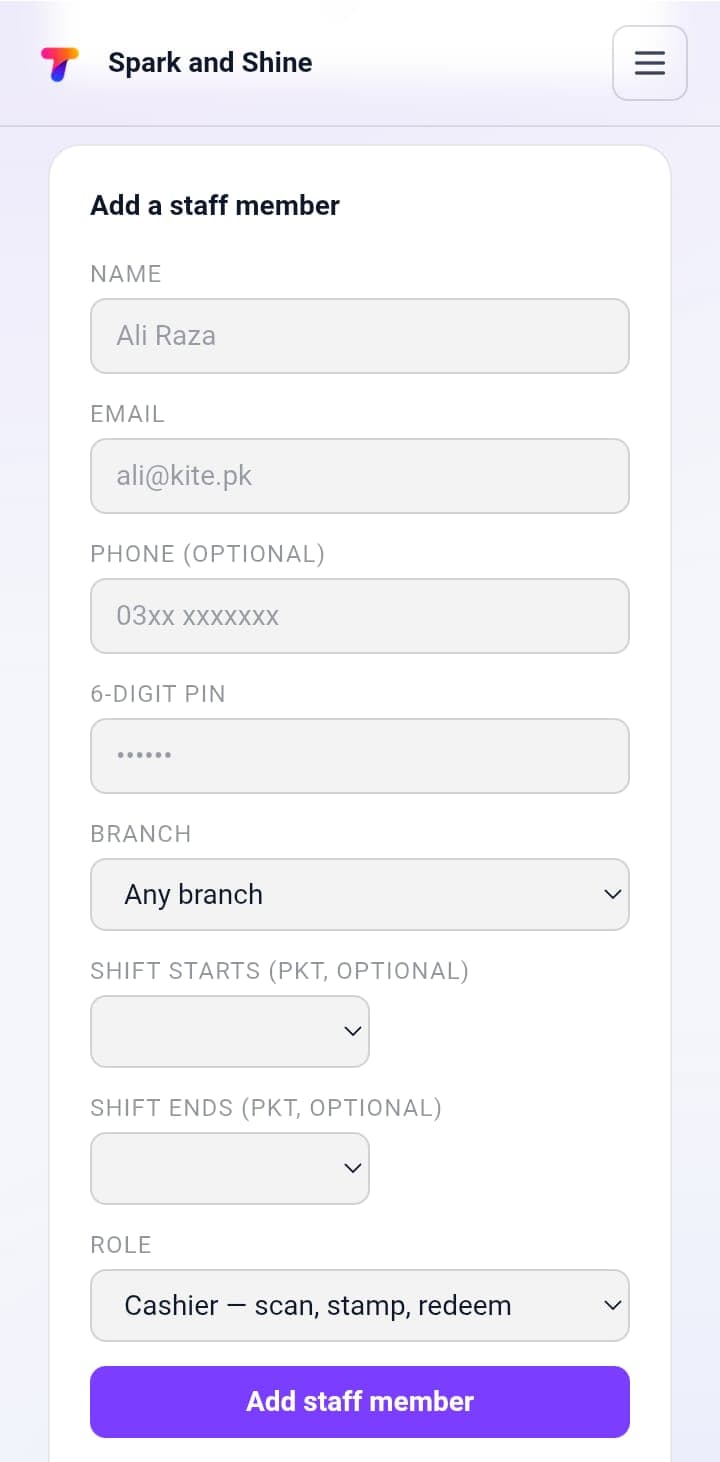
- Enter their details
Under Add a staff member: Name, Email and a 6-digit PIN. Then choose their Branch and Role.
- Click Add staff member
2Choose a role
- Cashier - scan, stamp and redeem rewards.
- Manager - everything a Cashier can do, plus view customers.
- Owner - everything above, plus manage staff.
3Check your staff settings
The settings at the top of the Staff page apply to all staff. Review them before anyone starts scanning:
- Multiple stamps per scan - lets staff add more than one stamp in a single scan.
- Email verification on new devices - staff confirm a one-time email code the first time they sign in on a device.
- Require an order number and Require an order amount - what staff must enter when scanning.
- Check staff are at the branch - Off, Watch or Enforce.
4Connect the scanner
You need the API key from the TapCard team. Don't have it? Contact support.
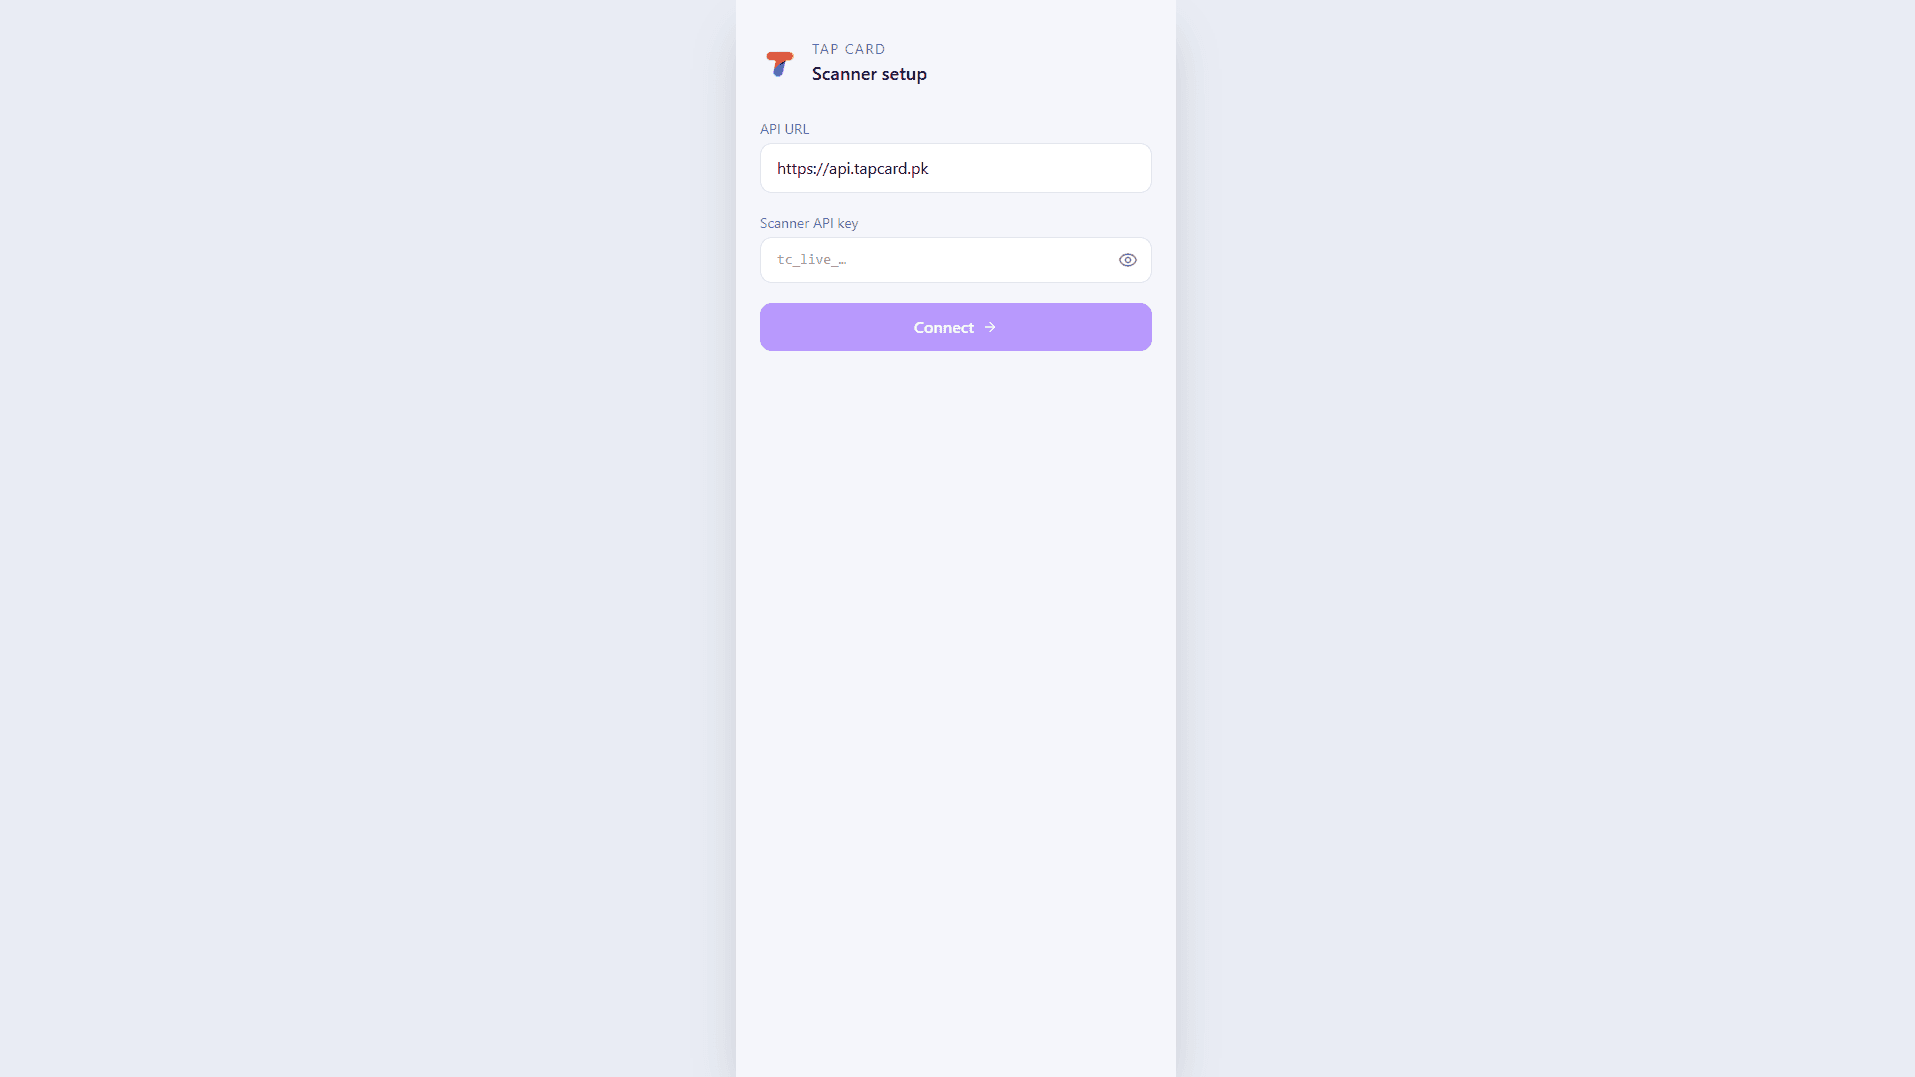
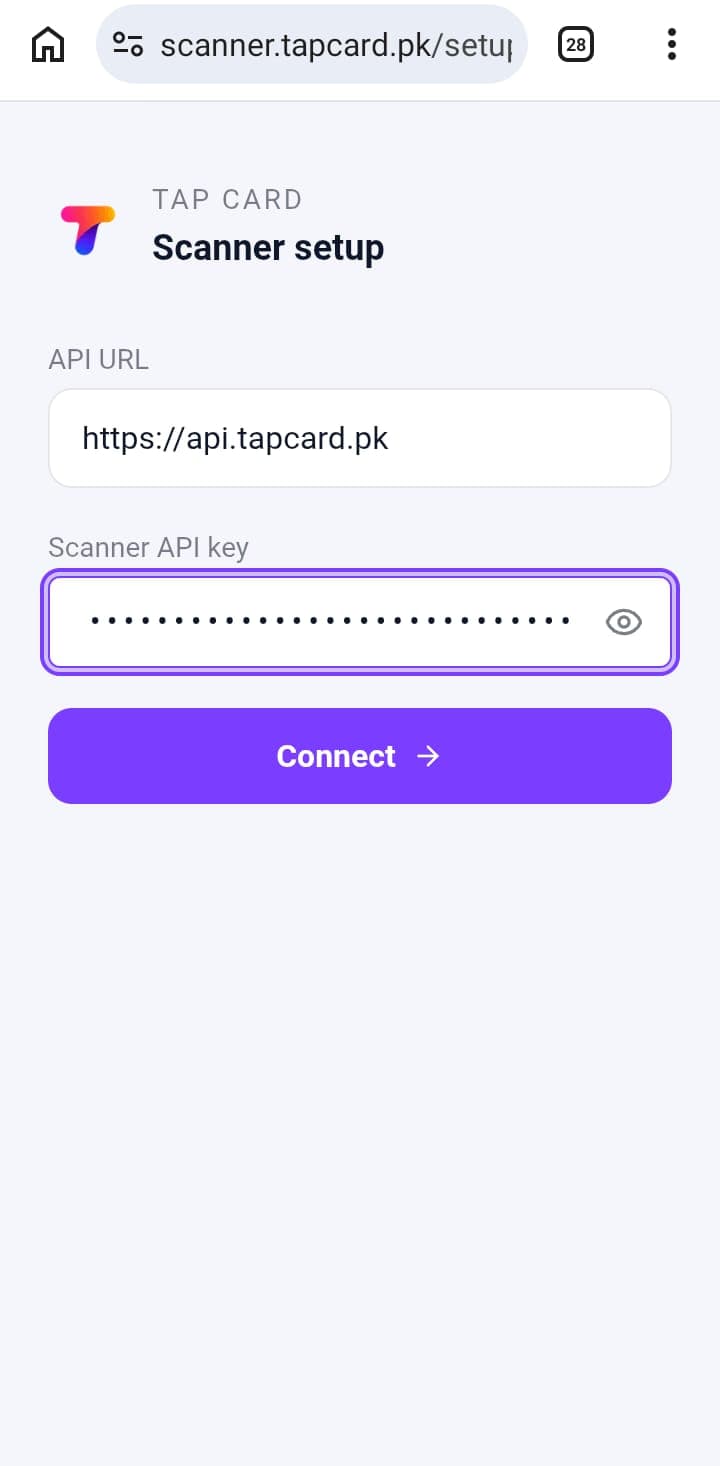
- Open the scanner setup
On the phone or tablet staff will use, go to scanner.tapcard.pk/setup.
- Paste your API key
Into Scanner API key - it starts with
tc_live_. Leave API URL as it is. - Click Connect
Keep your API key private. Don't share it publicly.
5Staff sign in
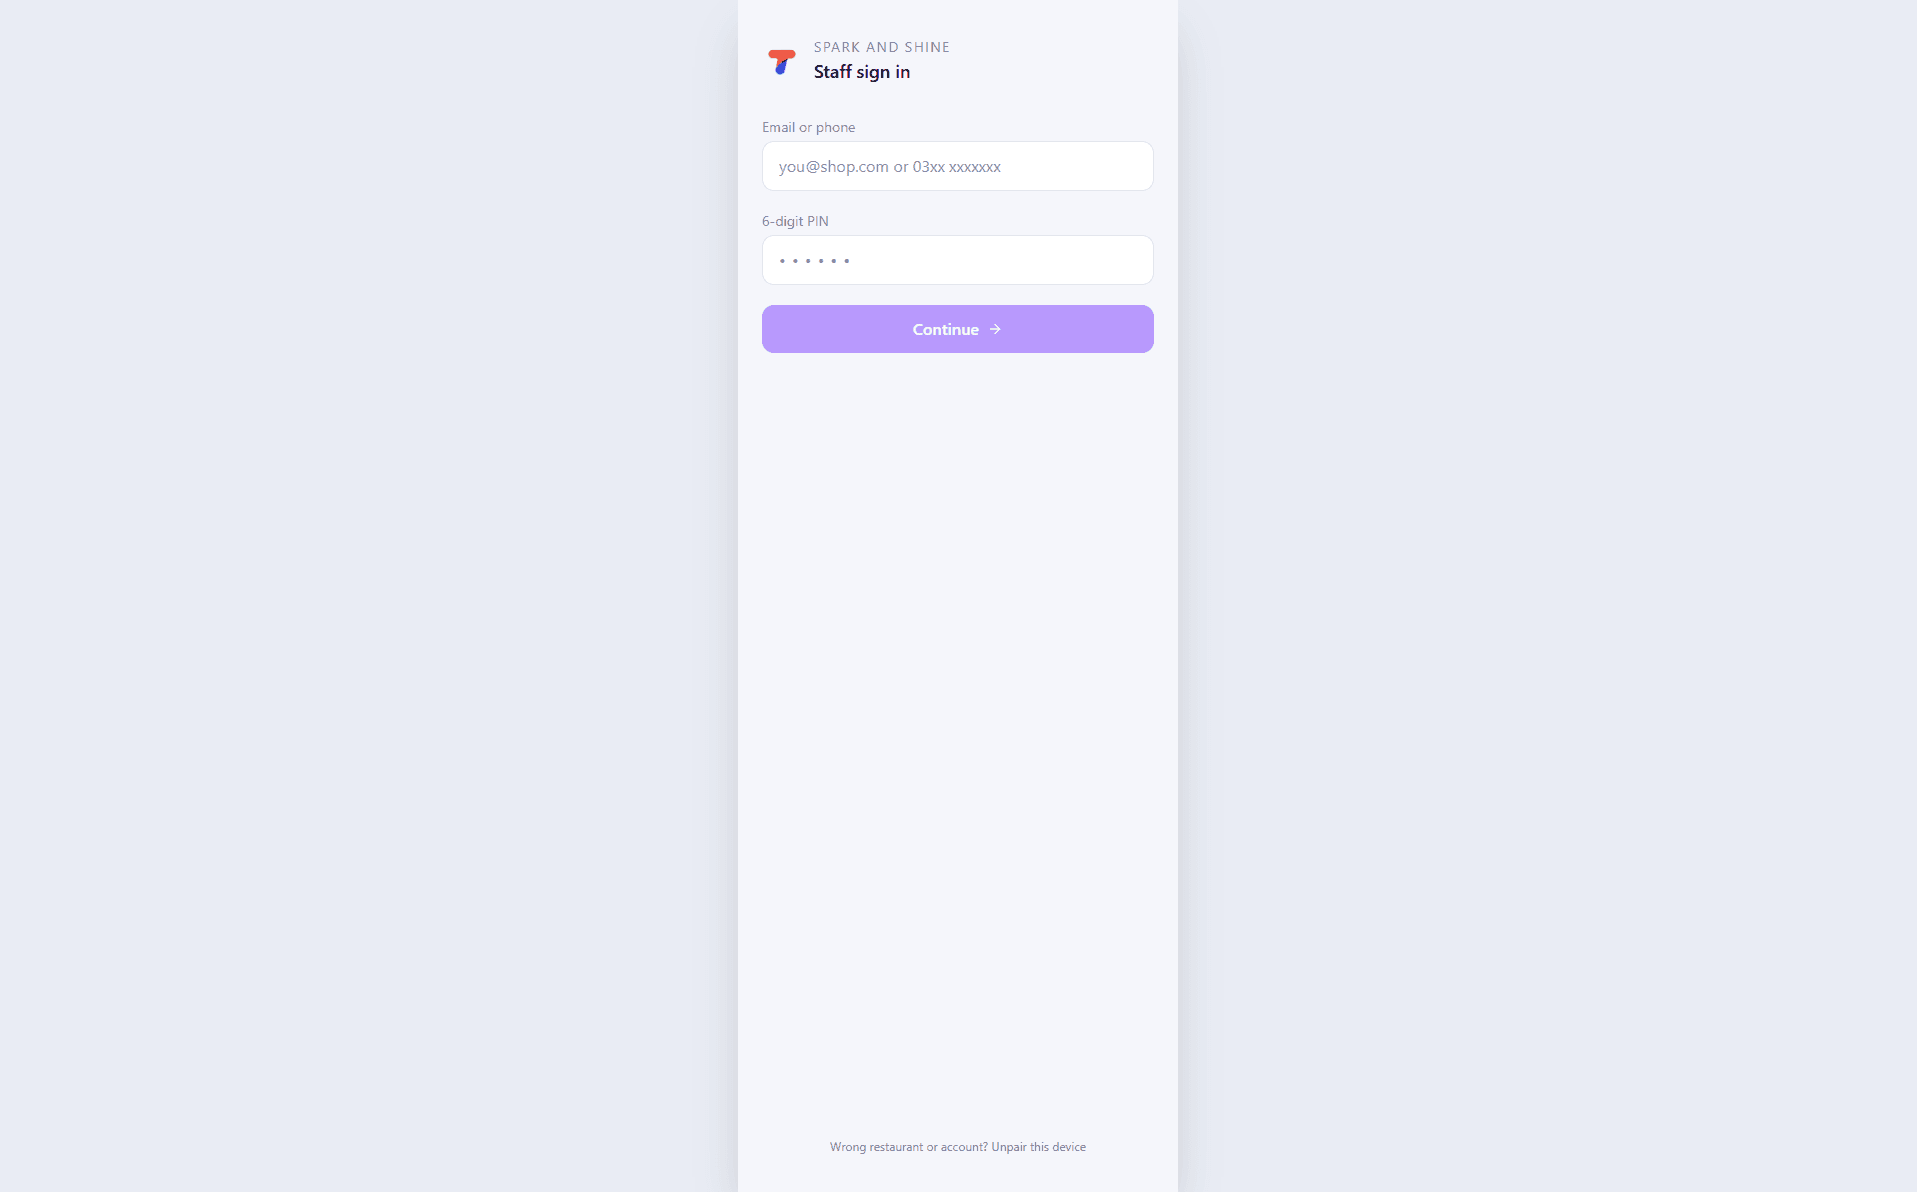
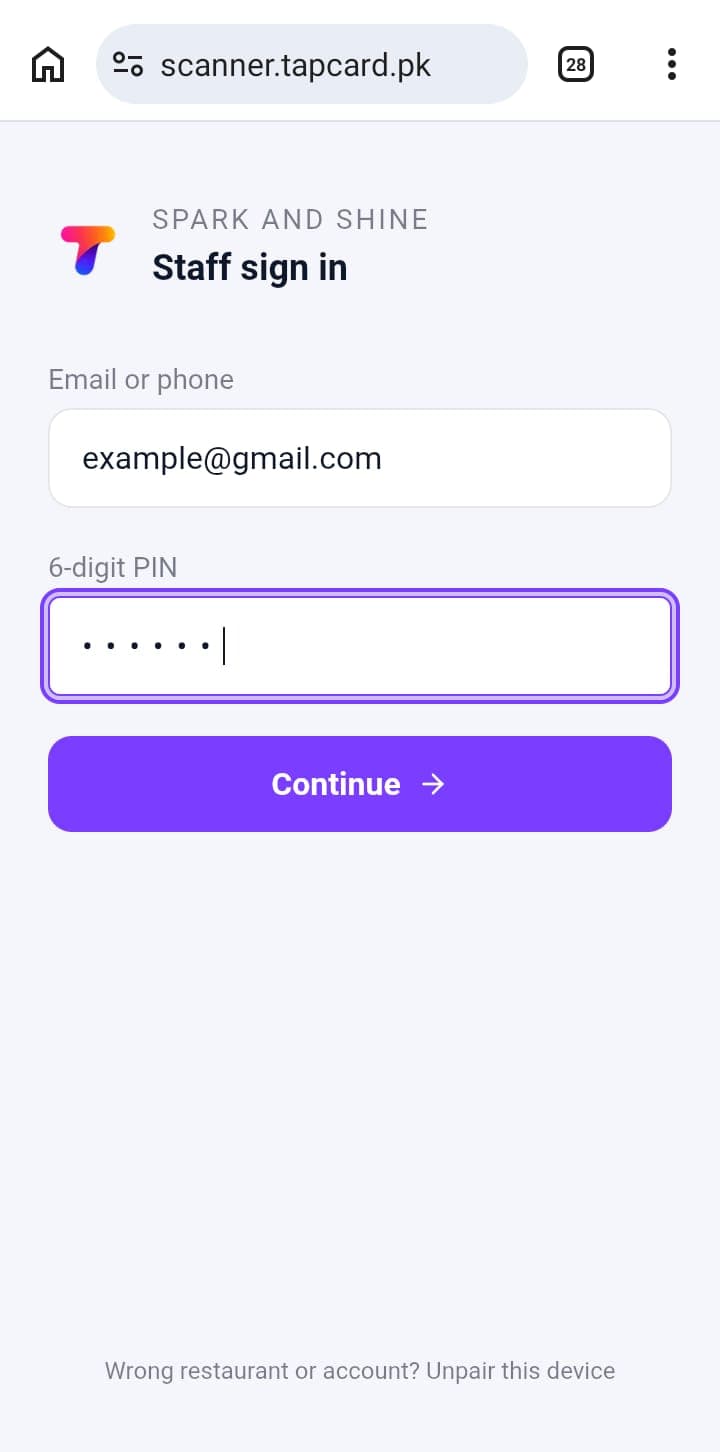
On Staff sign in, staff enter their email or phone and 6-digit PIN, then tap Continue. On a new device, they may need to enter a one-time code sent to their email.
What's next?
Ready to scan? Share this with your team: At the Counter.